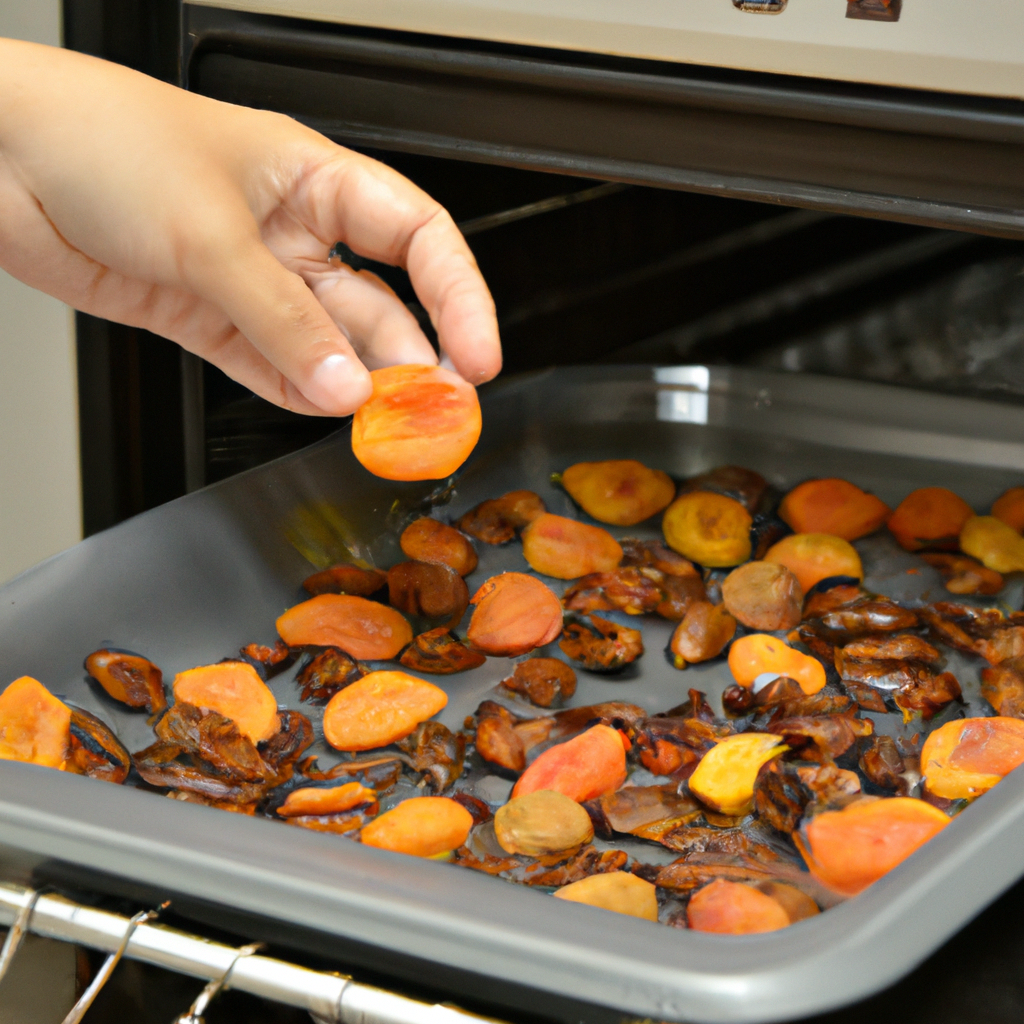
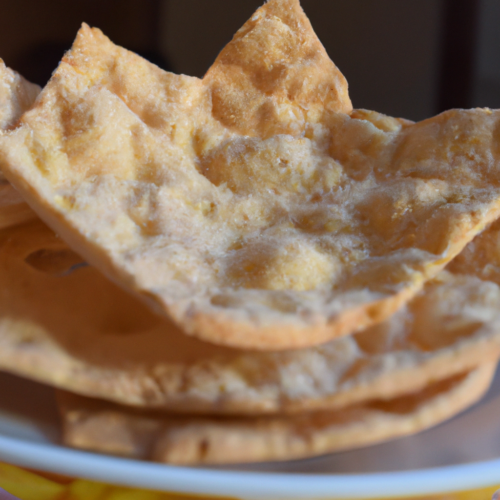
Making your own snacks with dried fruits is a great way to enjoy a healthy and naturally sweet treat. Traditional methods of drying fruits involve hanging them up to dry, but oven-drying is a great alternative when you don’t have the time to wait. All you need is some ripe, but firm fruits, sugar, parchment paper and an oven. Enjoy this oven-dried fruit technique for a delicious snack that’s perfect for any occasion!
Ingredients used:
For 1 people
- 8 - Peaches
- 12 - Plums
- 10 - Apricots
- 10 - Plum cots
- 12 - Figs
- 2 Bunches - Seedless Grapes
- 2 Tbsp - Sugar
Recipe steps:
- Heat oven to 225F and line a baking pan with parchment paper.
- Arrange the fruit, cut sides up and spaced 1/2 to 1 inch apart on the paper. Sprinkle 1 tablespoon of sugar over the fruit, adding more depending on the fruit's tartness.
- Transfer the pan to the oven and dry until the fruit has shriveled, edges have dried, and centers are still juicy; timing will vary according to variety of fruit, ripeness and size, 1 1/2 to 4 hours.
- If the juices start to run, baste with the juices every hour.
- Transfer the pan to a cooling rack and remove from the pan while still warm.
Making oven-dried fruit is a great way of making healthy snacks that are naturally sweet and delicious. Store the dried fruit in an airtight container, frozen, up to six weeks. Enjoy the oven-dried fruit as a snack, in cereals, pancakes, salads, and more. With this easy technique, you’ll have no trouble making your own tasty and nutritious snacks!


